Showing posts with label just a note. Show all posts

Wednesday, May 10, 2017

Emma's Surprise Birthday Hop

SURPRISE!!
Happy Birthday Miss Emma!!!

The MCT DT wanted to throw a surprise
Birthday Hop for our AWESOME DT leader and  the AMAZING owner of
My Creative Time!
Come hop along with us and wish Miss Emma a VERY HAPPY BIRTHDAY!!

Just like our normal hop, you can start over at Miss Emma's HERE
or if you have been following along the hop path already then you should be coming from
Emily's.

For my card I went with making a  CAS (Clean & Simple) birthday card....take a look and let me know what you think!
My card was all designed on a white card base where I stamped my sentiment using the set~ Just a Note. I just LOVE the big sentiment and beautiful font!!
Anyways, next I die cut the fun ice cream cone using the dies from the You Make Life Sweet and designer paper from American Crafts.
The ice cream cone was popped up onto the front of my card with some foam pop dots and my card was then embellished with some enamel dots.
A sweet card for a super sweet lady!!!!

We are moving right along so your next stop is
Katie!
Make sure to wish the birthday girl lots of celebration wishes today!
Thanks so much for hopping with the MCT DT and have an AWESOME
hump day!!


Surprise Birthday Hop Line-Up (in case you get lost)

Thursday, September 29, 2016

Fun with Stencils.....{MCT Tutorial Thursday}

Good Morning everyone and welcome to another
My Creative Time Tutorial Thursday!!!
I shared a card  here on Monday for MCT's Manly Monday post showing a fun technique using handmade stencils with MCT dies.
I promised to share a tutorial on how I made that card but instead of reproducing that card, I used the same technique and made 2 different mini cards....
Take a look at my finished projects...
And here is how I made the black and white spider web mini!
I gathered my supplies~ 
and Black Soot Distress Ink
I die cut the spider web out onto a piece of acetate. Loving the details that this die has it makes for a perfect stencil!
Using my ink blending tool and holding onto the stencil, I dabbed and blended and rubbed the tool over the stencil, starting from the center and working out until I got the right look I was going for.  As I blended out I let the ink lighten which gives it the look of a spray painted piece
Once the stencil was pulled off giving the desired look, I re-positioned it onto the other corner and inked it up the exact same way.
To finish my mini card, I stamped my sentiment, added that cutie spider and attached the whole white panel to the front of my Just a Note die cut.
~~~~~~~~~~~~~~~~~~~~~~~~~~~
I did the same technique for my pumpkin card, just changing up the die stencil to use the pumpkin and leaf from the Gobble Gobble set
 Adding  Carved Pumpkin and Mowed Lawn Distress ink
and a bit of  Gathered Twigs Distress ink as well!
When I went to add color for the leaf, I used the actual pumpkin die, the inside of my stencil to cover up the pumpkin so I could contain where the Mowed Lawn Distress Ink went. I wanted to add the color only to the leaf part~not the stem and I didnt want it to over lap the pumpkin
I add the panel to the Just a Note die, stamped my sentiment, and my mini was complete!!
The best part of making these stencils~ you can use them over and over again!!!!
Well I hope you have enjoyed my tutorial and will give this technique a try!

 Want to see more projects?
Make sure you head on over to My Creative Time to see what the rest of the DT made!
I know the inspiration is AWESOME!!!!

Thanks so much for stopping by and have a GREAT day!!

Friday, August 19, 2016

MCT 58th New Release BIG Reveal & Blog Hop

Good Morning and Happy Friday everyone!!
Welcome to the 58th New Release from My Creative Time!
 This has been such an AWESOME release with so much amazing inspiration from the DT!!
But there is one more day of projects with so lets get started....
You should be coming from the VERY talented
but if you are just stopping in, make sure to head back to the start~ the AMAZING 
You are not going to want to miss a thing! 

For my project, I get to showcase this releases FREEBIE set~
Happy Haunting
and here are the cutie Halloween suckers I made using this set. 
How fun are these?? I kinda wish my boys were younger so I could make more for them to hand out to their friends!! I love the way these turned out!!
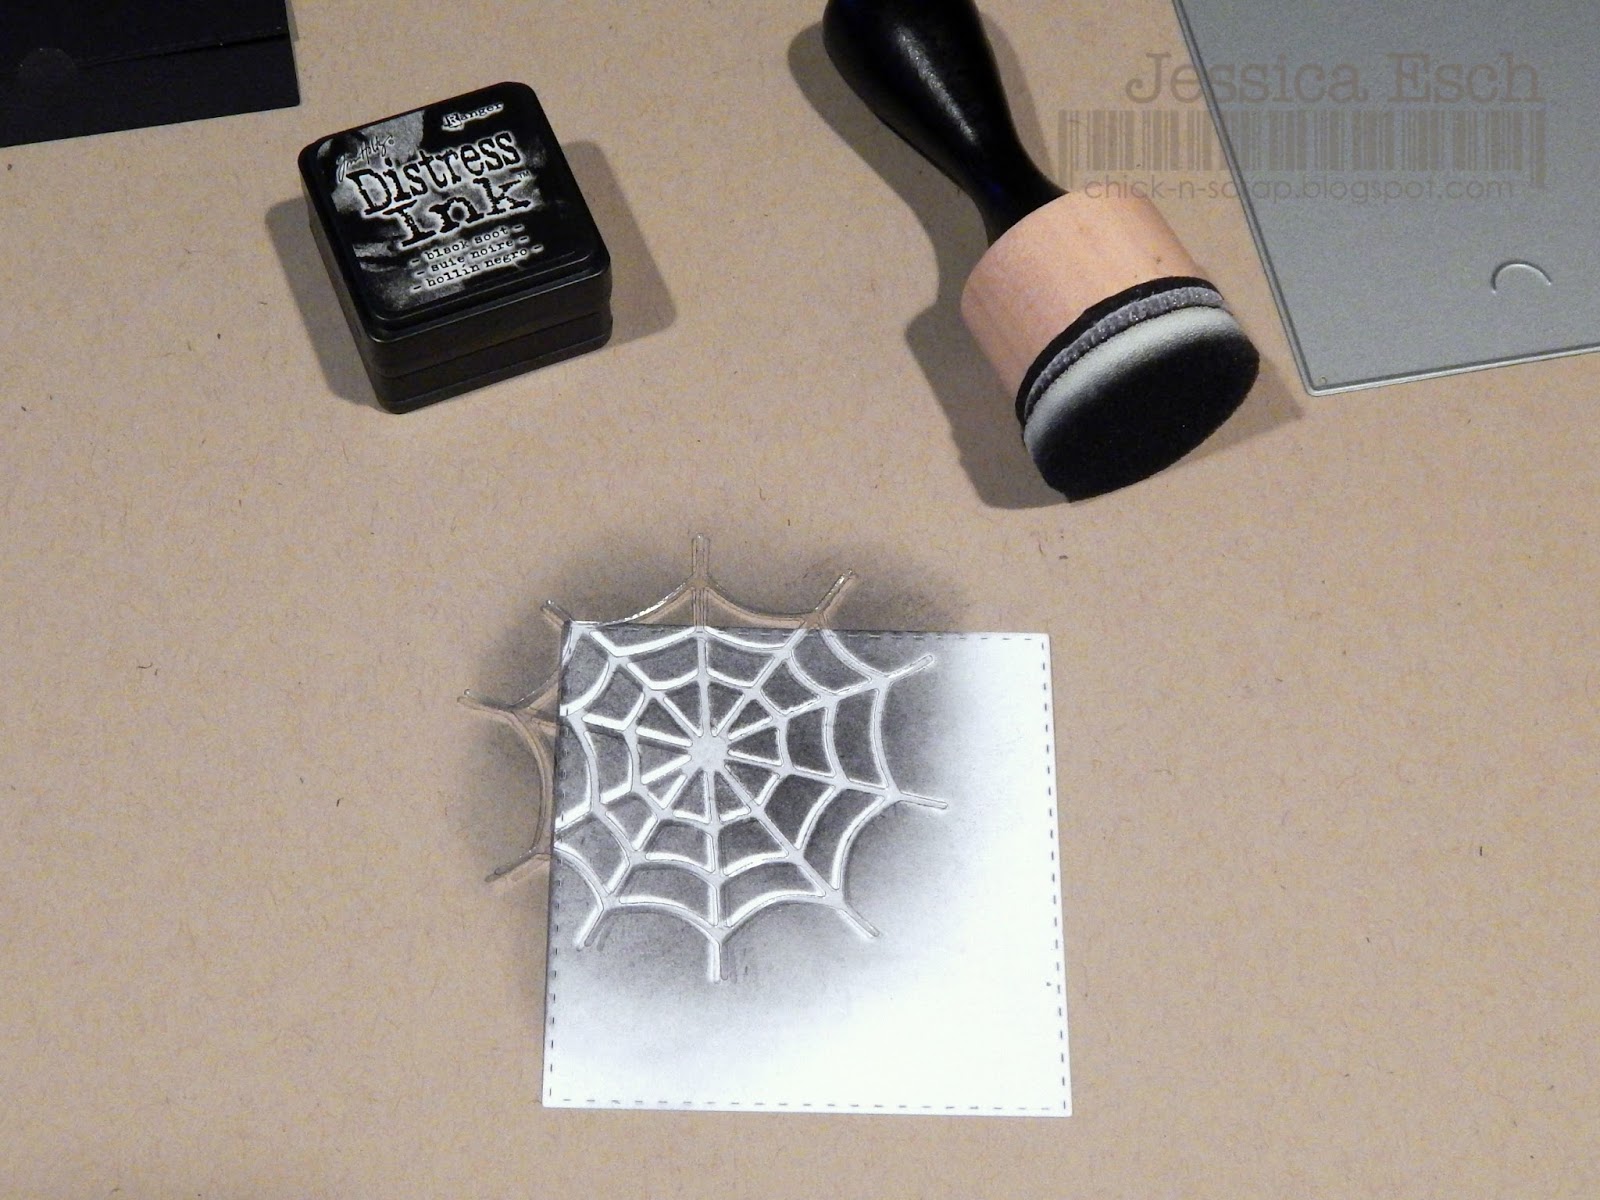
So here is how I made them....I started with the Just a Note die to make the sucker holder. I folded it on the score line then scored it again about a quarter of an inch... that if you were to fold the entire piece it would make a square and leave enough room to comfortably place a sucker inside. 
Next I added a piece of designer paper die cut using the Stitched Squares set to layer into the note die. I pulled one of my favorite tag dies from the Holiday Tags set and stamped the sentiment from the new Happy Haunting set
That adorable ghost was die cut using some felt and the Stitched Spooky Ghost Die set. He was popped up onto the front of the tag and for his eyes I found these little enamel blings that worked perfectly!
Finally I filled each cover with a sucker and sealed it up with some Orange Licorice Trendy Twine.

Recipe:
My Creative Time~
Happy Haunting (New Release)
Stitched Spooky Ghost Dies
Stitched Squares Inside & Out
Holiday Tags
Just a Note

Extra's~
My Minds Eye Designer Paper~Haunted
Felt
Enamel bling
Trendy Twine~Orange Licorice


UPDATE ON FREEBIE!!!
"FREEBIE"
Starting THIS Friday, August 19th, 2016 @ 8am PST ~ Our "Freebie" for this release is this SPOOKTACULAR  "Happy Haunting"  Stamp set. It will be given to the FIRST 100 shoppers! If you are one of the 1st 100 shoppers it will be automatically added to your package at the time of packaging/shipping. Once 100 shoppers come through, this die will be available for purchase. So, if it’s for sale in the store, you are not one of the 100. No exceptions will be made. This freebie set is not a part of the “bundle” and will be sold separately!
The 100th shopper came through ALREADY!  If your invoice numbers were between 20108 - 20208  You my lucky friends will be getting the freebie with your orders!!!  If you really wanted this stamp set & missed out on getting it for free,  it is available for purchase now HERE!
THANK YOU SO VERY MUCH for LOVING this release as much as we did! :)


And here is the whole release!


***BLOG HOP GIVEAWAY***
For our blog hop giveaway, Emma is giving away a $50 gift card to the "My Creative Time" store to ONE LUCKY winner! ALL you have to do is leave a comment on each of our blogs! You are NOT required to comment on EVERY SINGLE blog, but the more you comment on, the MORE chances you have for winning! VERY IMPORTANT, PLEASE leave a way for us to contact you w/your comment just in case "YOU" are the lucky winner!

***SALE ALERT***
ALSO, DON'T FORGET our sale starts RIGHT NOW here:
Use the code: AUGUST2016 to receive a discount off your entire purchase! This sale applies to "IN-STOCK" items ONLY. This sale will end on Fri, August 26th, 2016 @midnight PST.


Well your time with me is up... your next stop along the hop is the super sweet and very talented
Thanks so much for hopping along with us and have a GREAT Friday!!!

BLOG HOP LINE UP
Jessica~ ME

Thursday, June 16, 2016

MCT 56th New Release Sneak Day 4

Good Morning everyone and welcome to Day 4 of sneaks for the
56th New Release from My Creative Time!

Today is the final day of sneaks before tomorrow's BIG Reveal and Blog Hop!!
I know you are all going to flip over today's sneak!!

 Today's sneak include the new die set.....
Just a Note
For my project I made a set of thank you's for some special teacher's for the end of the year.
My boys still have a few more days of school so this set came in VERY handy!!

Since these are for teachers, I pulled out some school inspired sets to add to the new Just a Note stamp/die set.
I used the new mini tabbed note card die and added some lined designer card stock.
For some extra texture on the bottom of my note card, I used the paper border die~ so fun!
The sentiment was stamped onto the front of the designer paper and then I added the adorable die cut apple popped up.
A simple red pearl enamel dot completed my mini note card.

Recipe:
My Creative Time
Extra's
Kraft, White, Red and Green Card stock
Designer lined paper
foam pop dots
pearl enamel dots

***Sneak Peek giveaway!***
We will be giving away the sets we are showcasing each day to ONE lucky winner! For example, the set we are showcasing on Wednesday, Emma will announce the winner of that on Thursday & the sets we are showcasing on Thursday, Emma will announce that winner on Friday on my blog! ALL you have to do is leave a comment on each of our blogs! You are NOT required to comment on EVERY SINGLE blog, but the more you comment on, the more chances you have for winning! VERY IMPORTANT, PLEASE leave a way for us to contact you w/your comment just in case "YOU" are the lucky winner! For EXTRA entries, you can spread the word about this release on Facebook, tweet about it OR even instagram it! #mycreativetime! GOOD LUCK EVERYONE & let's start spreading the word!;)

Thanks so much for stopping by today!
Make sure to head on over to the
My Creative Time
blog for more inspiration!!!!
I will be back tomorrow with the BIG REVEAL and Blog Hop!
Have a GREAT day